DIY Dry-Erase Frame & 10 Ways to Use It
Creativity comes in many forms. For me — writing is my creative outlet. But give me a glue stick and some glitter and I’ll definitely make a mess — not a masterpiece. I like crafts — but mostly when other people do them! My guest blogger Molly is a whiz with such things and she’s whipped up this post about how to make a dry-erase frame yourself for your lists! Love that! I think I’ll even attempt this one myself 🙂
DIY Dry-Erase Frame + 10 Ways to Use It
by Molly Borter
Like many of you, I’ve been making lists for as long as I can remember. From what I need to pack for a weekend getaway to my observations on a sunny day, I can’t seem to stop scribbling on notepads, post-its, napkins, envelopes—well, just about everything! And while I have invested in my own cutesy stationary in the past, I’ve always wanted something easier and budget-friendly.
A few weeks ago, my girlfriends and I got together for a night of wine tasting, catching up, and crafting. We all have a slight obsession with the idea-explosion that is Pinterest, so it’s only fitting that we borrowed some inspiration from the site for our little DIY project.
I like to call the project my “List-Lovely Frame,” a crazy-easy craft that adds just the right amount of chicness to my work desk, living room, and kitchen counter—I couldn’t help myself, I made a few! This decorative piece gives me a charming place to jot down all of my random ideas, quotes, and to-dos.
Here’s how all of you list-makers can make one, too:
STEP 1: Supplies
• Picture frame: it can be as ornate, simple, big, or small as you’d like!
• Scrapbook paper the same size or larger than your frame. I bought a 12×12 booklet of scrapbook paper so I could have a couple of pieces to switch out depending on my mood.
• Scissors
• Pen or pencil
• Dry erase marker
STEP 2: Trace and Trim
• To fit the scrapbook paper perfectly to your frame, unscrew and remove the back of the frame.
• Take out the frame insert and place it on top of the scrapbook paper, lining up the corners.
• Using a pen or pencil, trace the border of the frame insert onto the paper, and trim off any excess scrapbook paper. This will ensure your decorative paper is the perfect size for your frame.
STEP 3: Replace and Reuse
• Discard the frame insert, and place your patterned paper inside the frame.
• Replace the back of the frame.
• Voila! Use your dry erase board to write, decorate, and commemorate.
• To reuse your frame for anything and everything, use a paper towel or cloth to wipe off the dry erase marker.
The Pinterest world has opened my eyes to the bevy of ways to use this lovely dry erase frame. Here’s how you can get the most out of it, from my Pinterest board to yours!
10 Ways to Use Your Dry Erase Frame
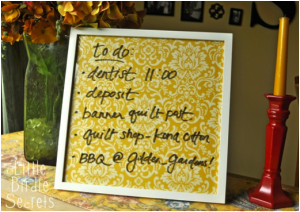
1. Make to-do lists and set reminders.
[source]
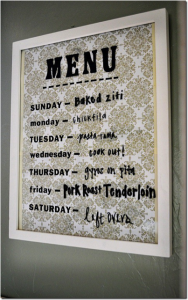
2. Create a menu board.
[source]
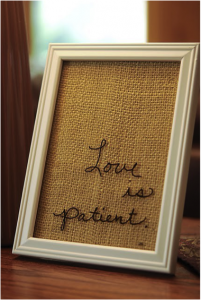
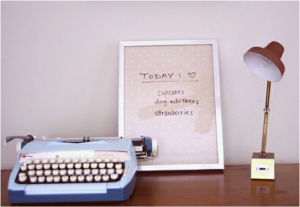
3. Jot down quotes and inspirations.
[source]
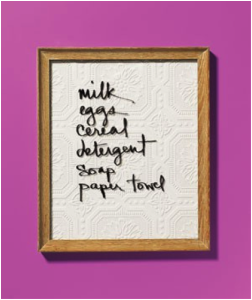
4. Make grocery lists.
[source]
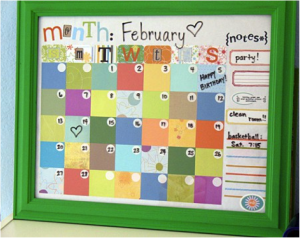
5. Hang a monthly calendar.
[source]
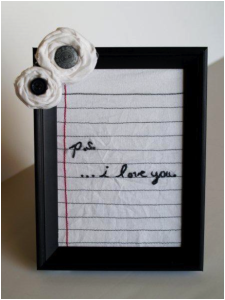
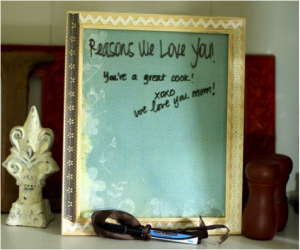
6. Brighten someone’s day.
[source]
7. Write just because.
[source]
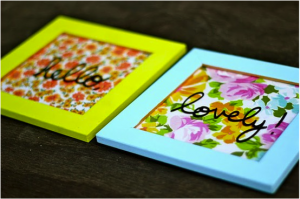
8. Host a party (these are coasters, or use them as snack signs)!
[source]
9. Give a gift.
[source]
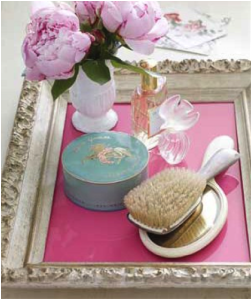
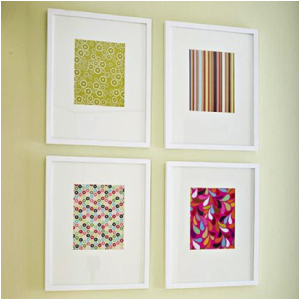
10. Create home décor.
[source]
[source]
Molly Borter is a frequent crafter and blogger for Reading Glasses Shopper from Indianapolis, IN. When she’s not obsessing over Pinterest, she adores her triplet nieces, bargain and antique shopping, and cooking with her chef boyfriend.



Leave a Reply
Want to join the discussion?Feel free to contribute!